1- Click on “Leave Balance” from main menu
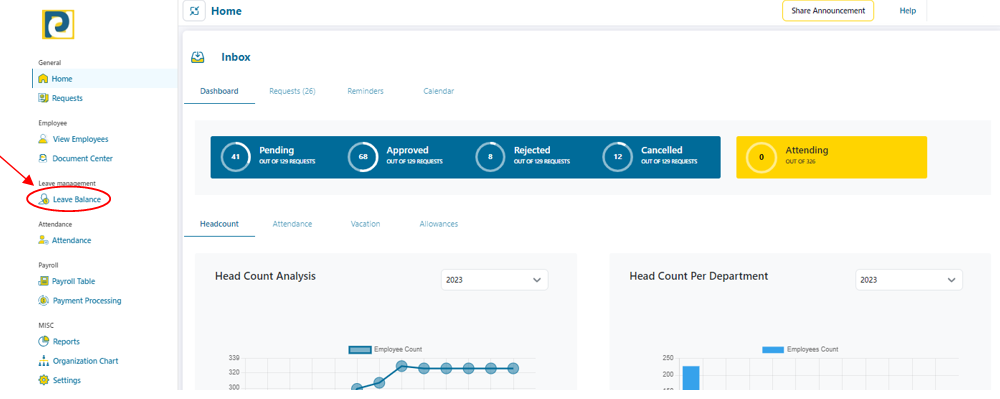
2- Click on “Open Balance Loader” button
.png)
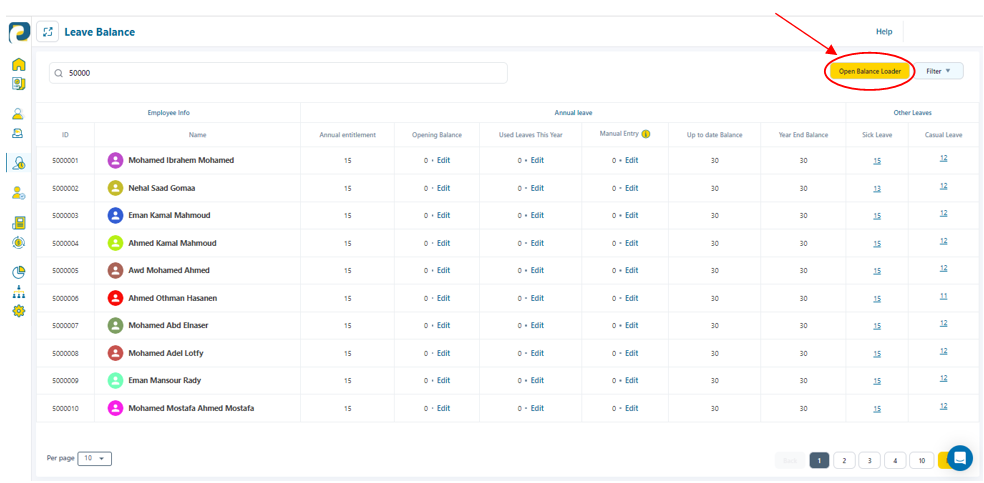
3- Click on “Download template file” button and open downloaded file
.png)
4- Fill in loader details as follows
.png)
4.1-TRX Type: either “Insert” or “Update”
4.2-Main Organization: pre-added Organizations are automatically assigned to Main Organization Options in loader and is chosen from pre-added business units in Organization Settings
4.3-Employee Code: unique ID of all involved employees in the selected Organization which is automatically present in Employee Code field to be chosen from
4.4-Leave: Typed of leaves that were pre-added in Leave Management Settings
4.5-Balance Year Start Date: the start date of applying giving that balance to the employee , which is automatically set to first day of current year but could be changed keeping DD-MMM-YYYY format
4.5-Balance Year End Date: expiry date of that leave balance , automatically set to last day of current year but could be changed keeping DD-MMM-YYYY format
4.6-Previous Year Balance: remaining leave balance of previous year
4.7-Used Leaves: employee used leaves of that type until current date
**4.8-Added Days:**used in case there was any compensation dates added for the employee
4.9-Year Entitlement: is the number of days added to the employee every year
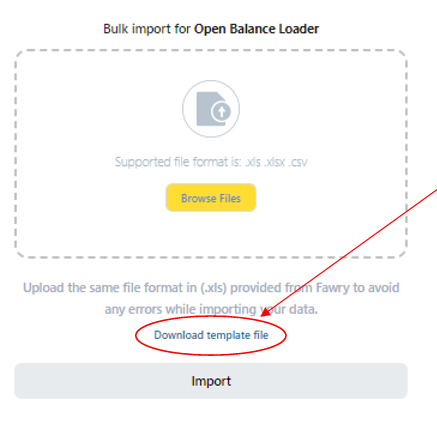
5- After filling in the required information, return back to step 3 window and click on “Browse Files” button
.png)
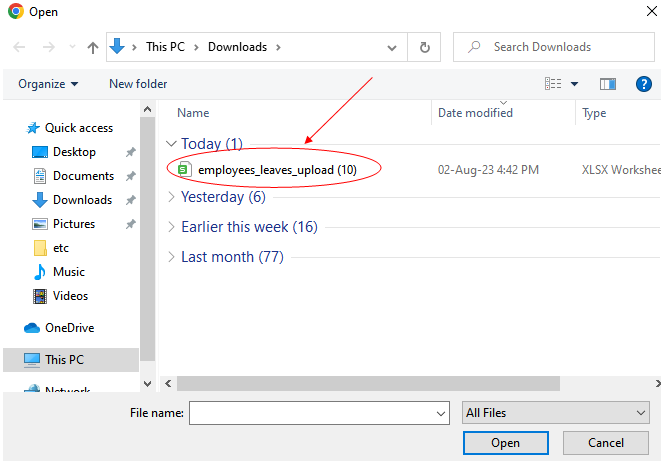
6- Navigate to loader file path and double click on file name
.png)
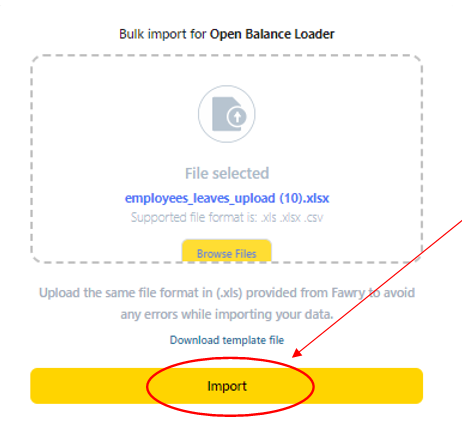
7- Click on “Import” button
.png)